Using Frontegg Authentication with Vue.js
Charles Allotey | October 20th, 2022 | 3 min read
Building a Vue.js Saas app? A user management system forms an integral part of identity and access management and serves as a basic form of security. Any solution designed to serve multiple users utilizes a User Management system that establishes authorizations and provides secure access to various resources.
Frontegg provides all the user management capabilities your B2B SaaS needs, allowing a full self-served experience within your product, right out of the box. From signup to checkout, Frontegg supports app builders by covering all the way from fundamental authentication flows to the most complex customer use-cases.
This article covers how to use Frontegg’s authentication with Vue.js. Before we begin, we assume you have a basic understanding of what Vue and its related libraries are and how they work. If not, we recommend reading the fundamentals of Vue.js before continuing:
Why use frontegg?
Frontegg is a popular authentication service that is used by hundreds of thousands of developers across the globe. From sign up to check-out, Frontegg provides you with out-the-box self-service user management capabilities, enabling faster, more scalable growth. With Frontegg, SaaS companies can bring a more mature product to market, while meeting all the current market standards and be in the ivy league of products. There are many other awesome reasons you might want to use it:
It’s easy to set up:
All you need is to get your Base URL and Client ID and put it into your app. No server-side code is required - Authentication will be fully handled by the front-end. It takes just 5 minutes to add a complete authentication and user management to your application. It supports all stacks through open-source SDKs
It’s fully customizable:
Your admin portal can be customized per your brand style. Frontegg makes it easy to add or remove capabilities via a simple UI. Use your portal back-office to customize your customers’ experience by a toggle.
Multi-tenant by design
Gives your customers a self-service mechanism to modify and control their security settings on the fly. Frontegg can adjust to any customer use-case. Data is segregated according to the specific tenant in-use.
Installing Frontegg Authentication with Vue.js
Let’s get into the awesomeness of using frontegg authentication with Vue.js
To begin we’ll first create our vue.js app
npm create vite@latest frontegg-authentication -- --template vue

npm install

cd frontegg-authentication

npm run dev
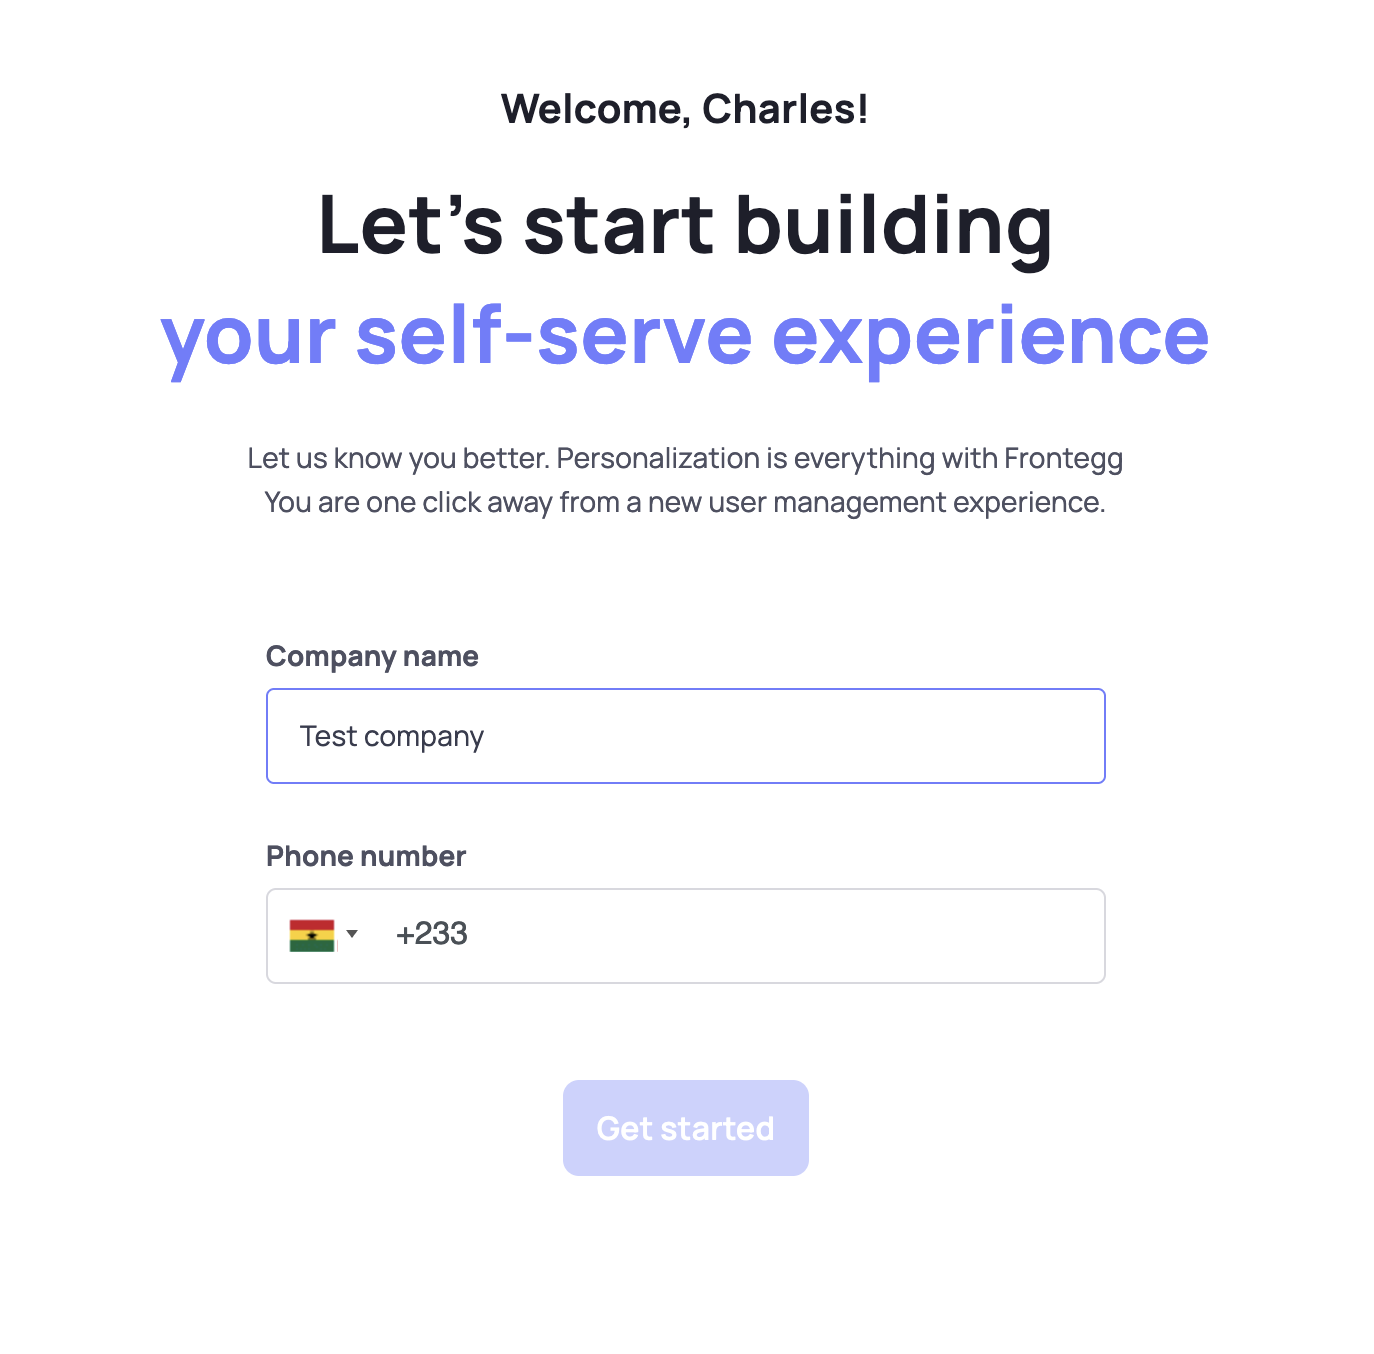
Create an Account on Frontegg

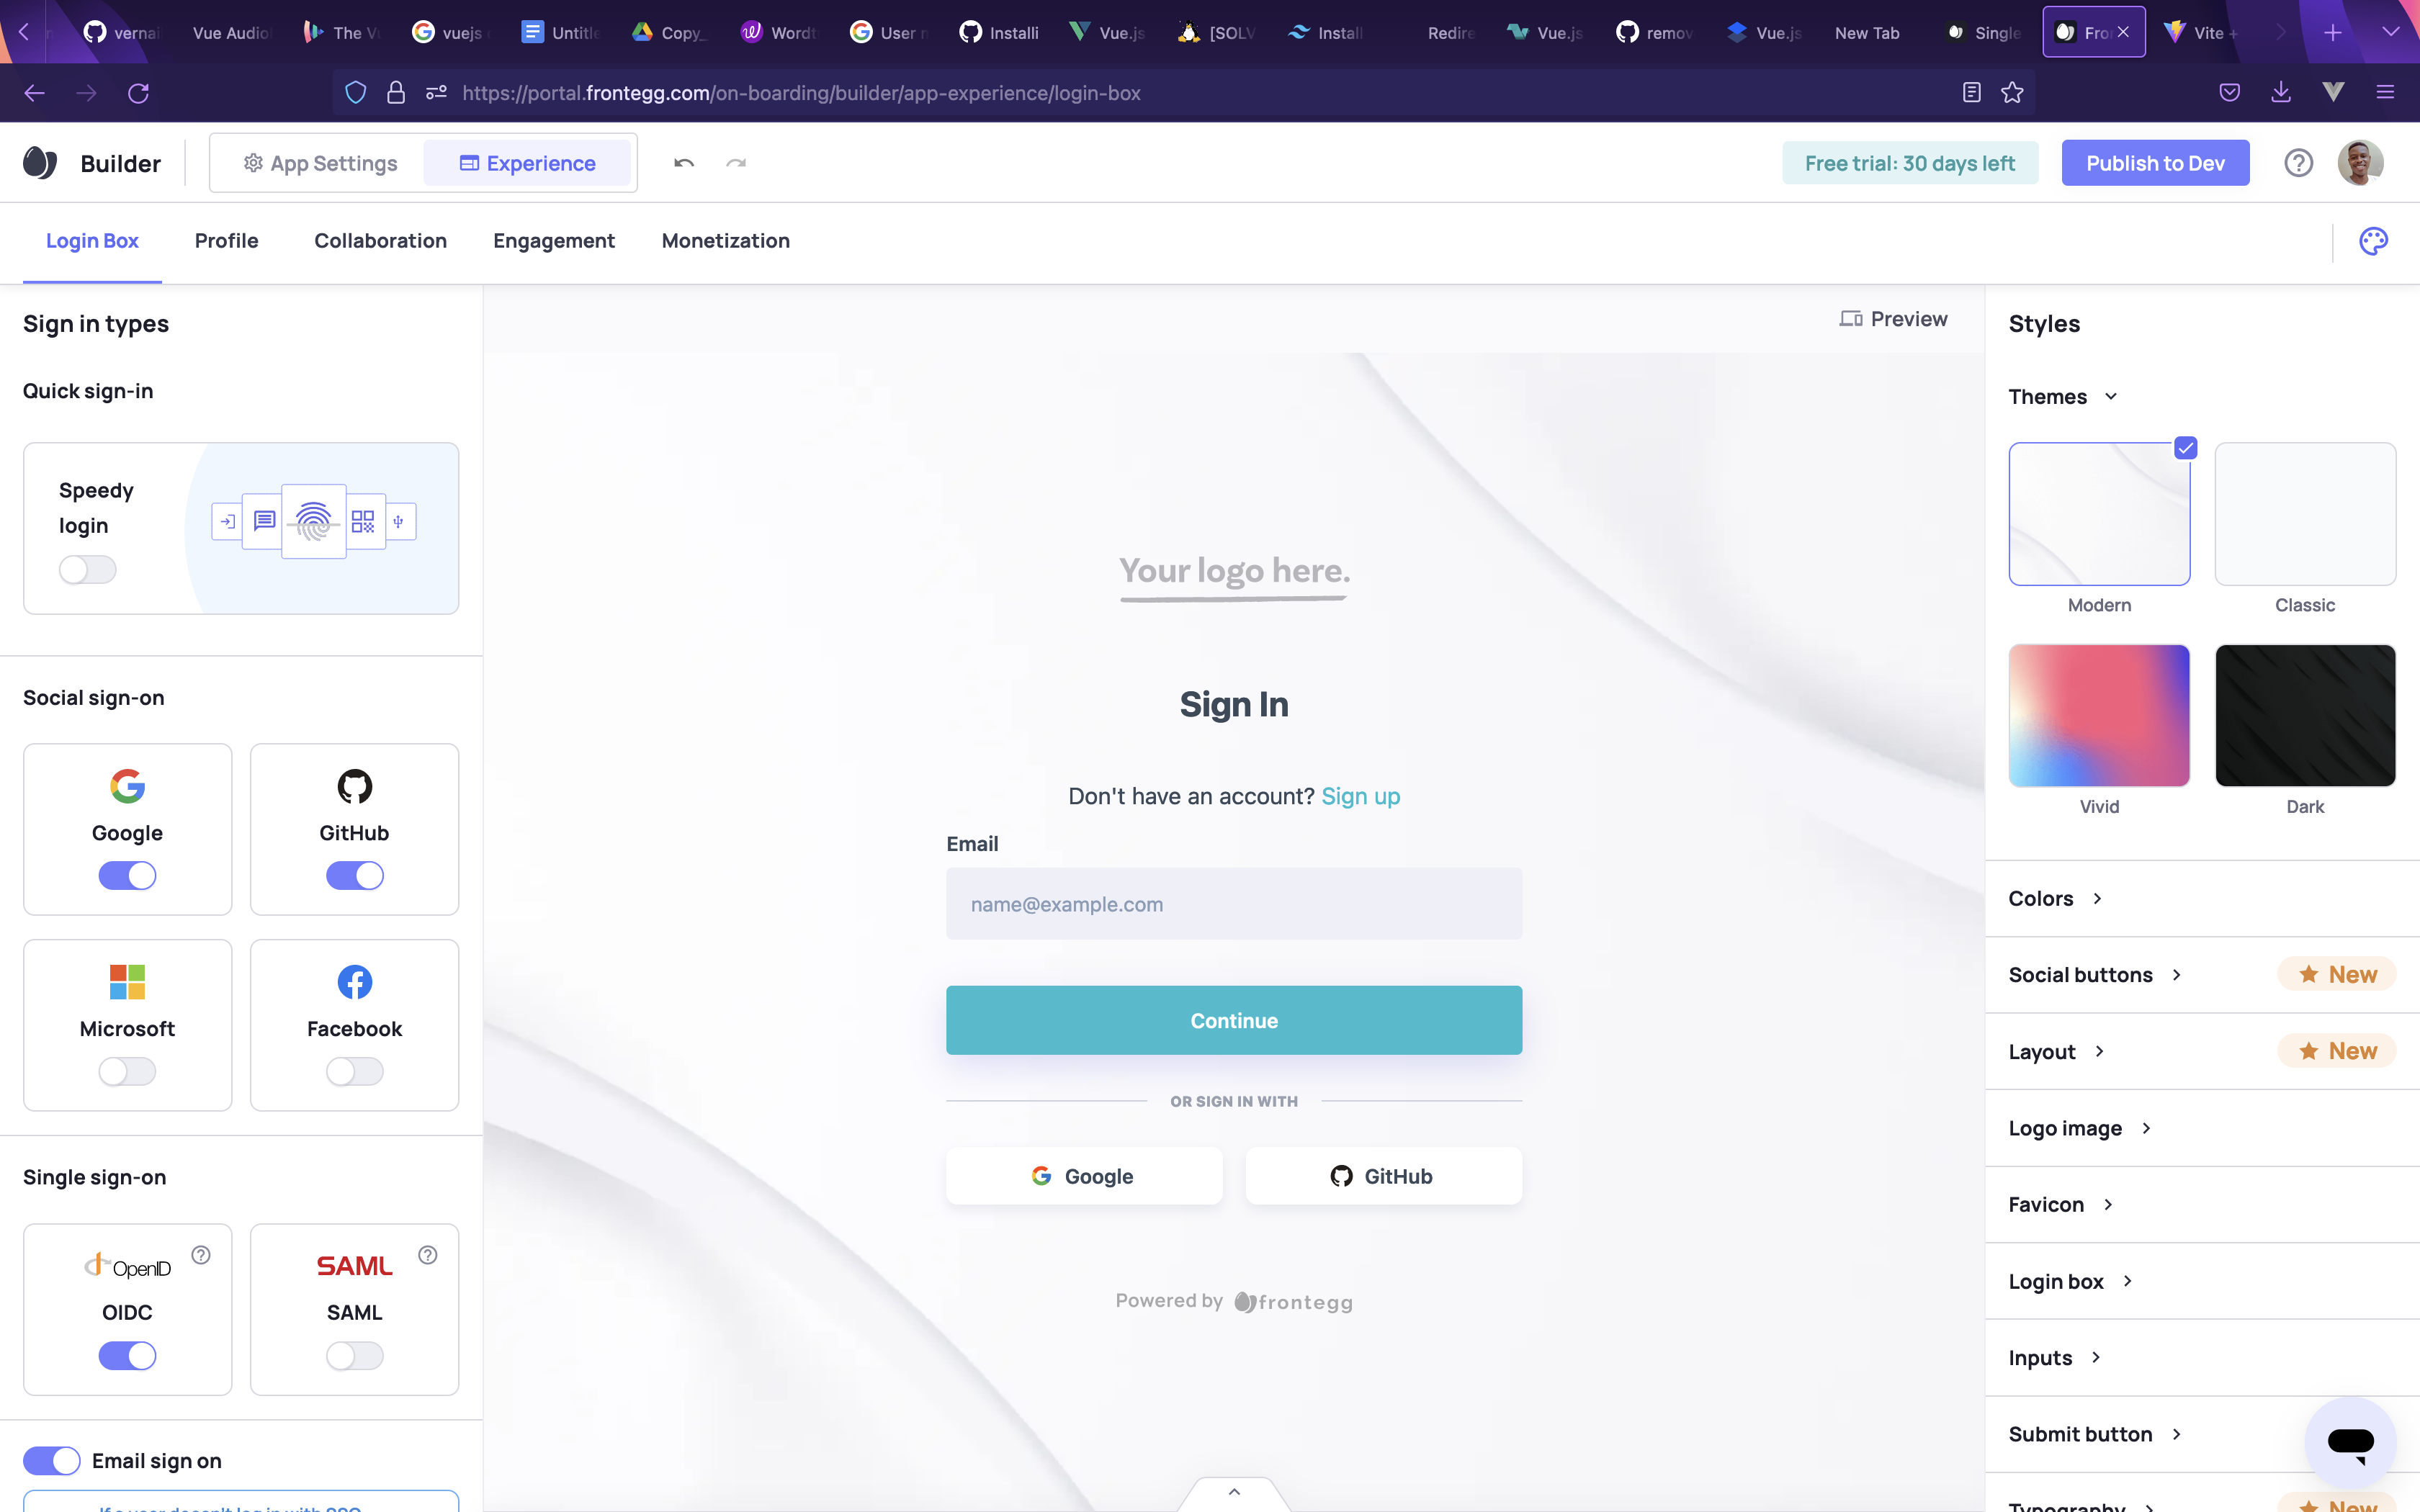
Create your User Authentication Experience and publish to Dev
Frontegg provides a dashboard to fully customize your login pages, profile page etc. You can add your personal logo, change the color of your login button, text and so much more . Frontegg also gives you the option of choosing from a wide variety of authentication types (SSO, email and password, username, social media authentication and more)

Add frontegg to your vue project
Adding frontegg to a vuejs application only takes a few minutes. Let’s jump right into doing that to see it in action.
//npm
npm install @frontegg/vue

//yarn
yarn add @frontegg/vue
//~main.js

import { createApp } from 'vue'
import './style.css'
import App from './App.vue'
import {Frontegg} from '@frontegg/vue'
import { createRouter, createWebHistory } from "vue-router";

const router = createRouter({

  history: createWebHistory("/"),

  routes: [

    { name: "HomePage", path: "/", component: App },

  ],

});

createApp(App).use(Frontegg, {

    contextOptions: {

        baseUrl: 'https://********.frontegg.com',
        clientId: '2e53360e-517e-4c38-a040-********'

    },

    hostedLoginBox: true,

    router,

  }).use(router).mount('#app')
On Registration of our Frontegg account we are provided with a baseURL and clientId to use in integrating with our vue.js app.
Now let’s log in our users
<template>
  <div id="app" v-if="fronteggLoaded">
    <div v-if="this.authState.user">
      <span>Logged in as: {{this.authState.user.name}}</span>
    </div>
    <div>
      <button v-if="this.authState.user" v-on:click="showAccessToken">
        What is my access token?</button>
      <button v-if="this.authState.user" v-on:click="logout">Log out</button>
      <button v-if="!this.authState.user" v-on:click="loginWithRedirect">
      Not logged in. Click to Login</button>
    </div>
  </div>
</template>

<script>
import { mapLoginActions } from "@frontegg/vue";
import { ContextHolder } from '@frontegg/rest-api';

export default {
  name: "App",
  methods: {
    loginWithRedirect: mapLoginActions('loginWithRedirect'),
    showAccessToken() {
      alert(this.authState.user.accessToken);
    },
    logout() {
      const baseUrl = ContextHolder.getContext().baseUrl;
      window.location.href =
    `${baseUrl}/oauth/logout?post_logout_redirect_uri=${window.location}`;
    }
  },
  data() {
    return {
      ...this.mapAuthState(),
    }
  }
};
</script>
Now we are good to test our feature.
Amazing! All that done in just a few minutes. Now we can start authenticating users into our app.
Conclusion
In this tutorial, we've learned how to integrate Frontegg authentication in our Vue.js application. We've learnt how to install the plugin, customize it to our needs, and use it in our application. Frontegg is an amazing user management service that is easy to use, and fully customizable. I will totally recommend it to anyone out there looking to build a Saas app or any other app that requires a user management system.

Click to load comments...